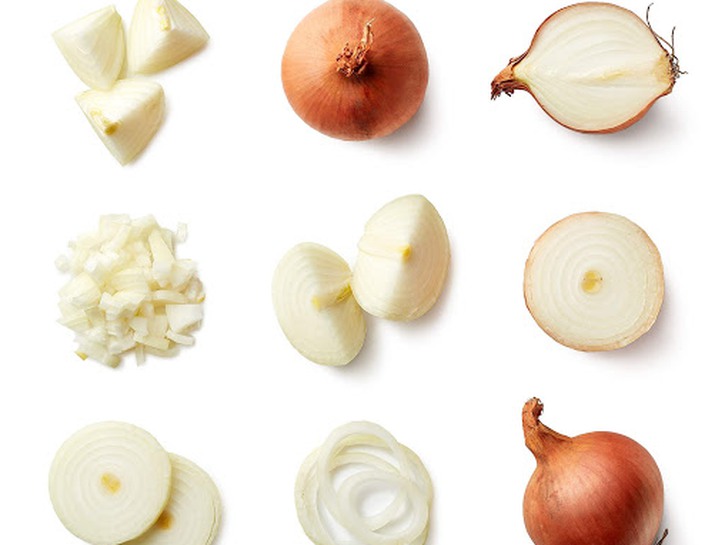
Onions are a staple ingredient for almost every single type of cuisine on earth. From Italian to French to Indian and everything in between, onions are used by home chefs for countless different dishes. Since they’re so prolific, we thought it would be super helpful to detail the proper way how to dice an onion. We’ll discuss how to do it safely and efficiently, plus share some extra tips for the perfect chopped onions for your every recipe need. We promise, onions will be nothing to cry about once you read our ultimate guide.
How To Dice An Onion

Our favorite method is all about a need for speed. This approach will help ensure safety and no nicks or cuts on your hands while still accomplishing the task of chopping your onions quickly. Soon you’ll look like a seasoned restaurant chef!
But first, make sure you have a sharpened knife; it may sound odd, but it’s actually safer to use a properly-sharpened cutting tool than a dull one. When a dull knife is being utilized, the person must exert much more force onto the blade which can cause injuries if your hands were to slip. With a sharp knife, the blade should smoothly glide through any produce with much less intensity, so if it slips, it won’t go too far into your direction or hands. You’ll also want to focus on proper technique when holding your knife; for onions, that means between the thumb and forefinger of your dominant hand. Place them on the actual blade just past the handle since it’s detailed work and you’ll be using the tip of the knife.
What You’ll Need
- onions (not green or spring variety)
- Chef’s knife
- cutting board

Instructions
Now that you’ve gathered the necessary supplies and identified the proper handling of a sharp knife, let’s get to chopping.
Step #1: End Game
Start by identifying the two ends of your onion: the root end and the basal end. The root end is a bit more flimsy and small, while the basal end should have a longer and larger outgrowth.
Step #2: Root Down
On your cutting board, remove the root end and discard. Then, flip onion onto the flat side you just chopped. Carefully use the knife to cut the basal side into equal halves; this will keep the onion together while we continue to slice it.
Step #3: A-peel-ing
Next, remove the outer couple layers of onion skin. Sometimes you may want to discard another layer or two, depending on how dried out they are; use your own discretion for this step.
Step #4: Chop Suey
Place the flat side of one half of the onion onto the cutting board. Cut horizontal lines from the bottom of the onion close to the top of the basal side, leaving about 1/2 inch of onion near the top; always cut down through to the cutting board, NOT sideways into the onion. Additionally, be sure to be careful with your hand placement to avoid any accidents.

Step #5: A Cut Above
Next, you’ll want to cut vertically from 1/2 inch away from basal end down to the sliced off root end. Generally, based on size of onion, you will make anywhere from four to eight cuts in this fashion. Try to keep them even so the onion pieces are chopped into a uniform size.
Step #6: Halfway Point
Now, you can feel free to discard the little nub of the basal end from your chopped onion and set aside the pieces that are already done. And breathe, because you are already halfway done with taming your pesky onion.
Step #7: Repeat Repeat
For the second half, simply follow steps two through five once again, just like the first time. It should go even smoother now. Be sure to still be careful with the knife to avoid any trips to the emergency room. Once you’re done, go ahead and discard the other basal end.
Repeat these steps if your recipe calls for more onions and for all future onion needs. This careful attention to technique plus use of an adequate knife will totally up your onion game and make dinner prep so much quicker. We call that a win-win.
