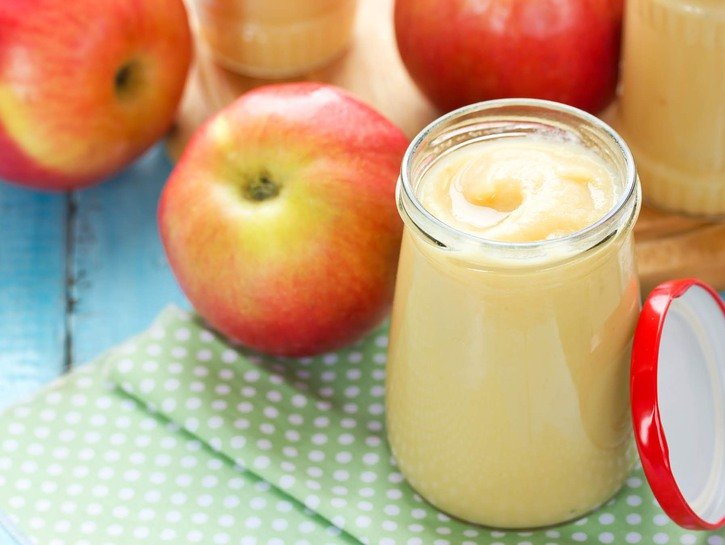
Applesauce is a sweet concoction of apples that are crushed into a sauce. It can be made from apples that are peeled or from those that still have their skin, and enjoyed as a snack or side. Applesauce is typically added with sugar or honey to add more sweetness and is usually mixed with a variety of spices, such as cinnamon, cloves, allspice or even nutmeg for added flavor.
Applesauce is often associated with feeding babies or added to potato pancakes, but before it can be utilized in any way it must be stored properly if you want it to last. One way of doing so is to can your applesauce, so that it can maintain it’s enticing flavor. Canning is quite simple so if you are searching for a simple way to preserve your beloved homemade applesauce. Let’s go through how canning works, and the best method for properly canning homemade applesauce.
What Is Canning?

Canning is a long-held tradition among many families and was one of the methods utilized for centuries as a means to ration and store food for rough winters and travel. Canning is a way to successfully preserve food for an extended amount of time, and many different foods can be successfully canned, not only applesauce — jams, jellies, preserves, pickles and other fruits and vegetables can be kept fresh in a sealed jar. When properly canned, microorganisms that can be harmful are kept at bay and the food remains fresh. Today, because fruits and vegetables are so readily available in markets, canning apples is easier than ever and is done so as a means for gift giving rather than out of necessity.
There are two types of canning: raw pack and hot pack. Raw pack entails canning raw fruits and vegetables, while hot pack involves cooking or heating the food before processing. When it comes to applesauce, the hot pack method works best, especially for pureeing and ensuring that herbs and spices are fully cooked into the food. The process of canning is very easy, and anyone can do it. Once you get the hang of it and acquire your own means of spicing up your homemade applesauce, you will find just how much better tasting and fresher it is compared to the store-bought variety.
How To Prepare And Can Homemade Applesauce

This recipe will give you many pints of applesauce in one sitting, allowing you to store plenty of applesauce for later while still enjoying a big batch immediately. For making the applesauce,you may use any type of apples that you prefer, from sweet Fuji apples to tart Granny Smiths.
Applesauce Ingredients:
- 14 pounds of apples
- Water
- Cinnamon (additional spices optional)
Canning Equipment:
- Water Bath Canner
- Large Saucepan
- Small pot of hot water
- 9-pint jars
- Lids and rubber bands
- Canning tools (lid lifter, jar lifter, canning ladle, funnel, and bubble popper
- Kitchen towels
- Knife
- Large spoon
- Cutting board

Instructions:
- Wash your apples thoroughly, core them and slice into large chunks. You can peel the apples beforehand or leave the skin on, depending on your preference.
- Stirring occasionally, cook the apples over medium-low heat to soften them. You may also use a potato masher or fork to mash them until they are smooth and creamy.
- When the cooked apples are done, take off of the burner and allow them to cool.
- Wash and dry all your jars and lids. Then set them in the canner, add water and allow them to boil to sterilize them. Warm your lids in a small pot. Keep all lids and jars warm until ready to use.
- Run the cooled applesauce through a strainer to remove any seeds or skin.
- Return the applesauce to the saucepot and add your cinnamon and other spices for taste. You may adjust the amount until the flavor is just right.
- Spread a kitchen towel on the counter and use the jar lifter to remove jars, then line them up on the towel.
- Using your canning ladle and funnel, add your applesauce, leaving about a 12 inch of space between the sauce and the lid.
- Next, use your lid lifter to remove the lids from the water and to center onto the jars and screw until very tight.
- Using jar lifter, place closed jars into the canner leaving space between them, allow the water to fill the canner so that there at least one inch of space above the jar tops, but do not pour water directly onto lids, but around them.
- When the canning process is complete, turn off the heat and allow the filled jars to cool for about 10 minutes.
- Use the jar lifter to place the jars on a spread out a towel and allow it to settle for 12 to 14 hours. You should hear a ping, which indicates that the jars are sealed.
- After about 24 hours, check to see if your jars are sealed by pressing in the middle of the lid. If it pops up it is not sealed. if it doesn’t, it is sealed and ready to be stored.
Keep this recipe on hand for when you want a scrumptious, yet healthy snack to enjoy at any time.
