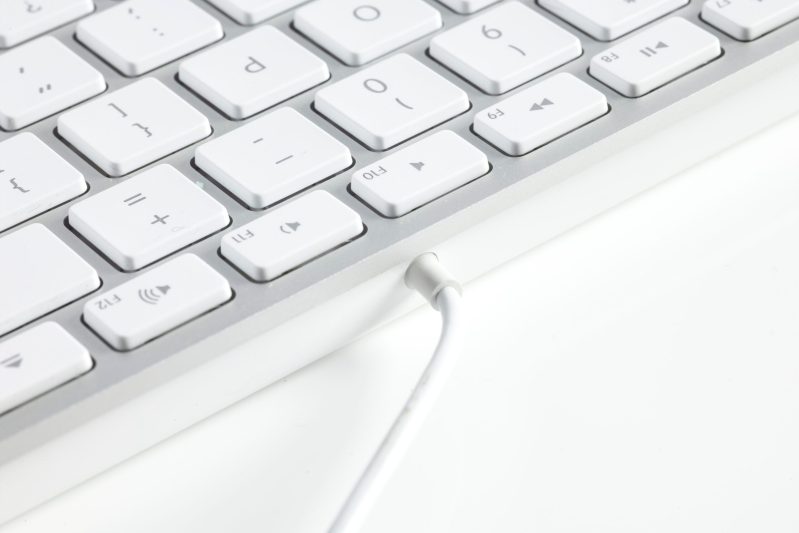
Remove Debris And Dust
Tilt the keyboard upside down over a garbage can and shake it to loosen hardened food and crumbs. Refrain from banging the back the keyboard in an attempt to get out debris for it could loosen keys and damage the keyboard. Another way to get out stubborn crumbs is to grab an index card, or something of the like, and slide it in between the keys. Doing this makes it easier for a bit of debris to be removed.
If you can, get your hands on a compressed air duster—all it is a can of compressed air. Its purpose is to force out minuscule food particles and dust. Compressed air dusters are the most powerful method for removing matter from your keyboard. When using this method, it is recommended that you tilt your keyboard at a 75-degree angle. Spray the compressed air into the keyboard and rotate the keyboard 90 degrees four times to reach every corner and crevice.
Wipe Of Grime And Dirt
If you’re a snacker, chances are your keyboard is ridden with slime and stickiness. To effectively and safely clean the surface your keyboard is to use Q-tips and rubbing alcohol. First, dab one tip of the cotton swab in the alcohol and carefully clean each key. The Q-tip ensures that the alcohol goes on the key and not inside the keyboard, for this reason, be sure to not over saturate the tip of the cotton swab with alcohol. Some keys may need a little extra elbow grease, so don’t be afraid to go in a second time with the Q-tip. Also, feel free to use a disinfecting wipe to ensure that your keyboard is 100% free of germs and bacteria.
Remove The Keys (If Necessary)

The aforementioned steps of usually enough to get your keyboard squeaky clean. However, in some instances, dirt and particles may be stuck under the keys–especially if you have a raised key keyboard. If this is the case, it’s best to remove the keys using a toolkit. This, of course, depends on the type of keyboard you have.
If you have a wired keyboard, a method you can use to clean your keys is to remove each key by the keyboard upside down and removing all the screws. Then, lift off the top half with the keys on it. Next, squeeze the tabs on each key to remove it. Place the keys in a bowl of warm water and soap and scrub each one using a toothbrush. After you’ve thoroughly cleaned each one, rinse the keys with cold water, and let dry. In the meantime, take the top half of the keyboard and clean it using soap and warm water. When everything is dry, reassemble the keyboard.
Consistency Is Key
It’s simple, the more often you clean your keyboard, the less dirty it will be. While you don’t have to do a deep cleansing every day, it is advised that you clean it at least once a week, or if you’re a germaphobe, as often as your heart desires.

Tips For Keeping Your Keyboard Clean
- Don’t eat near your keyboard. If you must have a snack, try placing a paper towel over the keyboard to prevent crumbs from falling in.
- Speaking of snack, try not to touch your keyboard if you have sticky fingers. Cheetos dust is fine on your fingers but not on your keyboard.
- Give your keyboard a daily sweeping with a compressed air can. This is a quick way to keep dust at bay.
