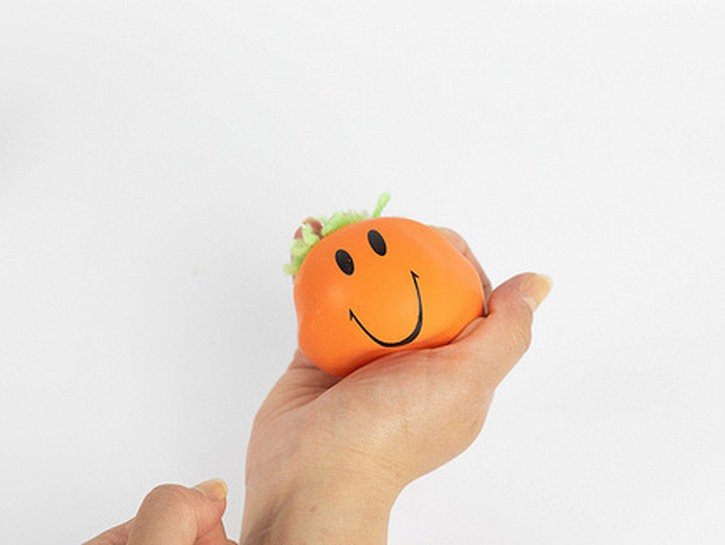
When it comes to stress, there are thankfully various ways to deal with it depending on your personal preference. DIY crafts are a great way to release some stress and unleash your creative abilities as well. What better way to DIY your stress away than to create your own homemade stress balls? It’s much easier than you probably think, and you can use materials that you already have in your home.
A DIY stress ball is an easy way to focus your tension and strain on something physical. We’ve broken down two different ways for you to create your own stress balls at home. You never know; a DIY squishy stress ball may just be the key to your sanity during a tough workday.

1. The Balloon Method
One of the easiest ways to make a DIY stress ball is with a balloon. Balloons are cheap and you can buy a pack virtually anywhere. Plus, they’ll hold all of the materials while providing a premium feel like a stress ball that you’d purchase in a store.
You’ll need:
- Three party balloons
- A filler of your choice: rice, beans or flour
- Funnel
- Scissors
Instructions:
- Stretch out your balloon. A simple way to do this is to use your mouth to pump air into the balloon first, and then let the air out. Doing this just once is fine, but if you do this a few times it will help your balloons be stretchier. Do this for all three of your balloons.
- Choose your filling. Stress balls all have a different feel depending on the materials use to fill them. And if you’ve bought a party pack of balloons, then you can make multiple homemade stress balls. Usually, flour, rice or beans are used as fillings.
- Take your funnel and carefully stick it into the neck of one balloon.
- Use your choice of filling and pour it into the funnel, letting it carefully flow inside of the balloon. You get the best result if you pour slowly. This will void any clogging at the neck of the balloon, and nix the mess. If you do notice some clogging, use something small and long like a pencil to clean the opening.
- Once you’ve filled your balloon up, carefully remove the funnel from the neck and let out any air that is in the balloon. Just be sure not blow out any of your fillings. You can achieve this by continuously pinching the neck of the balloon.
- Tie a knot at the neck of the balloon to ensure that it’s closed.
- Grab your other two balloons, and use your scissors to cut off the neck of them.
- Position one balloon at a time over your stress ball. Then tie the ends, and you can snip off the knot.
- Start squishing away and enjoy your DIY stress ball!

2. Without A Balloon
If you’re in no mood to deal with balloons, but also aren’t afraid to get your hands a little dirty, then this next technique is for you. Either method that you choose to create your stress ball, we promise that you won’t be disappointed.
You’ll need:
- A tube of transparent silicone
- Cornstarch
- Pillow stuffing
- Acrylic paint
Instructions:
- You may want to place a large piece of paper, or wax paper over your working surface first to contain any messes and spills. Place a small handful of cornstarch over this surface and on your hands in order to prevent the silicone from sticking to you or your workspace.
- Squeeze a large glob of silicone on to your work surface, on top of the cornstarch. The amount really depends on the size that you want your stress ball to be, so you can use virtually as much or as little as you’d like.
- Sprinkle some more cornstarch on top of the glob of silicone.
- You can now knead the glob in your hands in order to blend the cornstarch with the silicone.
- Once it is properly mixed, the silicone will be much less sticky, and will appear matte.
- You can now add about a dime size or so of acrylic paint to the glob. Use a small amount, and of course, use any color of your choosing.
- Knead the acrylic paint with the silicone mixture once again, until it is all absorbed into the glob.
- Flatten out the mixture with your hands, and grab a small handful of pillow stuffing. Place it in the center of your mixture. Then you can begin to close the mixture over the pillow stuffing, shaping it into a ball.
- If you notice any tears just work them through and close it up. Shape it and set it down for an hour or so, until it is completely dry.
- Once your ball is dry, it’s ready for use!
Both methods are effective when you want to create your own stress ball. You’ll never have to buy a stress ball again!
