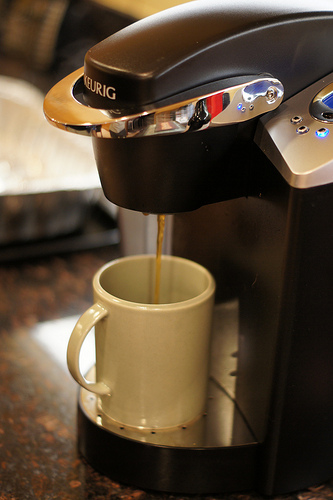
A Keurig is a highly-acclaimed brewing machine that is hailed for its efficient quality. Traditional coffee brewers require you to pre-grind your coffee beans and measure them prior to usage. With Keurig machines, it’s as simple as popping in the K-cup, which holds your pre-measured coffee, hot chocolate, or tea, watch the magic happen, and go on with your day.

Just like any regular brewing machine, the Keurig must often be cleaned properly so it can continue to work efficiently and offer you the best brewing experience each time. One thing to keep in mind, however, is that bottled or distilled water works best for tidying up these machines, unlike softened or mineral water, which can erode or break down the components. Once you’ve got that basic information down, you are now ready to learn how to clean a Keurig.
How Often Should A Keurig Be Cleaned?

A Keurig is multi-functioning and can help concoct a number of different beverages, from cocktails to soup. If you use your Keurig quite frequently, say, multiple times per day, your machine will need cleaning more often than if were only used occasionally. Though the Keurig is a high-quality machine, wear and tear can wreak havoc and cause your beverage to taste stale.
Unlike a coffee maker, which needs to be cleaned at least once per month, every 3 to 6 months is the recommended time for the Keurig. However, if you have a Keurig Plus, your machine may even notify you that it’s time for a deep cleaning. Whichever model you own, it’s always a good idea to keep the 3 to 6 month rule in mind to help keep your coffee tasting fresh, prevent wear and tear, as well as sticky buttons.
Cleaning Your Keurig
What You’ll Need
- White vinegar
- Water
- Soap
- Clean, dry sponge or cloth
- Bottled or distilled water

Cleaning Method
1. Fill up clean basin, bowl or sink with warm, soapy bottle or distilled water. This will be used to submerge parts to be cleaned.
2. Carefully unplug your Keurig machine.
3. Disassemble and wash any removable parts, such as the water reservoir lid, mug stand, and the K-cup holder. Then, place items into soapy water, removing any particles and debris that may have accumulated. Rinse, then allow to air dry or wipe with a dry, clean cloth.
4. With a damp sponge or cloth, wipe the surface of the machine, removing any dirt and debris from crevices, such as the coffee pad holder. You may even use a clean toothbrush to get hard to reach places. Wipe residue with a clean sponge or cloth, then return the dried parts, such as the water reservoir lid, mug stand, and the k-cup holder back to their original spaces.
5. Take the vinegar and fill the water reservoir about halfway. Then fill the rest of the water reservoir with bottled or distilled water. It is very important that you avoid mineral or soft water to prevent erosion in your machine.
6. Close the water reservoir, then begin the brewing cycle. This will thoroughly cleanse the inside of your machine and it’s parts, removing any build-up, such as lime and scale, that has occurred over time.
7. Once the brewing cycle is finished. Completely fill the water reservoir with bottled or distilled water and run the brewing cycle again to remove any remaining vinegar.
8. Now you are ready to brew a delicious beverage of your choice and enjoy!
Unlike conventional coffee machines, the Keurig is extremely convenient and easy to use. Not to mention, they are a cinch to clean. Once you get the hang of it, you can literally clean and brew an amazing cup of coffee all within a matter of minutes. Create a delicious experience each time, by keeping these handy tips in mind.
