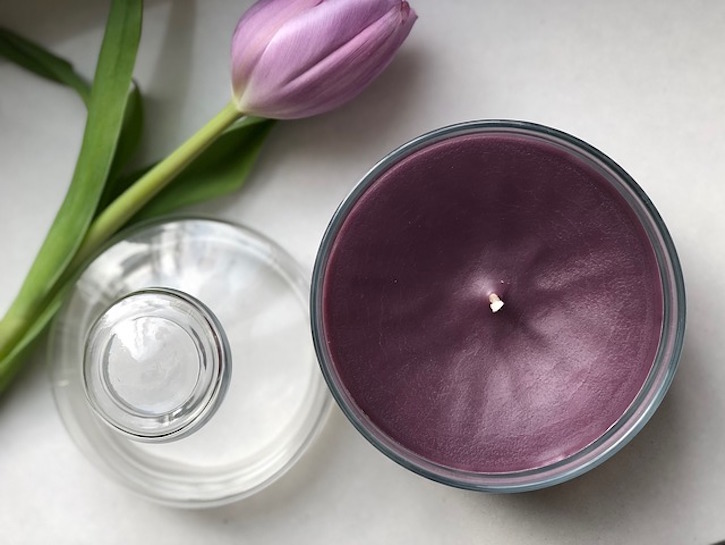
Why are high-quality candles so expensive? If you’re lucky, you can catch a sale or use a coupon, but even then they can cost an arm and a leg. A way to enjoy a scented ambiance without breaking the bank is to make your own DIY candle at home. You don’t have to have super creative homemaking skills to do this, all you need is to take a trip to your local craft store and follow this easy step-by-step guide.
DIY Candles Step 1: Gather The Materials

First, you’ll need to gather your materials. You’ll need braided wick rope, wick tabs, unscented soy candle wax (soy wax burns longer than traditional paraffin wax), and a small container of fragrance oil.
Make sure that the fragrance oil is formulated for candle making, or else you will be stuck with unscented candles. Also, you can use more than one type of fragrance if you like to make your own personalized scent. Some candle fragrance oil companies we recommend are Candle Science, Candle Soylutions, and Candle Cocoon. Not only do they have the widest variety of scents, but their oils are potent and will ensure that your candle has a nice scent throw, which is the intensity of the scented aroma when the candle is lit. Additionally, you will need a thermometer handy to measure the temperature of the wax before you pour it into the container.
DIY Candles Step 2: Assemble The Wicks
You can purchase pre-tabbed wicks, but if you plan on using a taller glass container, it’s more ideal to buy the wick and tabs separate because pre-tabbed wicks may be too short. To assemble the wicks, simply cut the desired length of the wax rope. It is recommended that you cut a few inches more than what you need and trim it later — there’s nothing worse than candle wicks that are too short. Secure one end of the wick rope into the wick tab base using needle nose pliers.
DIY Candles Step 3: Melt The Wax

Ideally, you would melt the wax in a double boiler, but if don’t have one then you can melt it on your stovetop. Just fill a large saucepan halfway with water on medium-low heat. Then, place your wax in a smaller pot and put it in the saucepan. After your wax is melted, measure the temperature of the wax with a thermometer. Tt should read 180 degrees.
DIY Candles Step 4: Add The Oil
After your ideal melting temperature is reached, it’s now time to add your fragrance oil. If you’re using only one fragrance oil, pour in 1 ounce, if you’re using two fragrance oils, reduce this to 1/2 an ounce per oil. Also, it is worth noting that adding more fragrance oil will not result in a stronger scent. In fact, if you add too much oil your candle will not burn properly because there will be pools of liquid in it. Therefore, make sure to use your fragrance or essential oils in moderation.
DIY Candles Step 5: Pour The Wax

Before you pour your wax, the temperature of your wax should read 110-125 degrees. Pouring your candle wax at the right temperature will ensure that you get the best results. Carefully pour the wax into your container and quickly insert the assembled wick and tab into the center of the container. To keep the wick from moving, you can secure it with a popsicle stick and clothespin, as pictured above.
DIY Candles Step 6: Trim The Wick
After letting your candle cool for several hours, trim the wick using scissors or a wick trimmer. It is recommended that your wick is 1/8 of an inch at all times — this ensures that your candle burns evenly. Now just light your candle and enjoy!
Additional Tips For DIY Candle Making
- You’re not limited to using soy wax. Feel free to use paraffin, palm, or beeswax instead. Paraffin wax is often used by candle makers and is the less natural wax type, as it is made from refined petroleum. The other waxes, palm and beeswax, are made from renewable resources.
- If you have empty candle containers laying around, don’t throw them out. All you have to do is clean out the remaining wax. Not only does this save money, but it puts old candle jars to use.
- Adding color to your candle is super easy! Grab a box of crayons, choose the desired color, and add the crayon shavings to your wax. Make sure to do this step before the wax has completely melted.
